Photo Editing: Replace a Mirror Reflection Using Snapseed
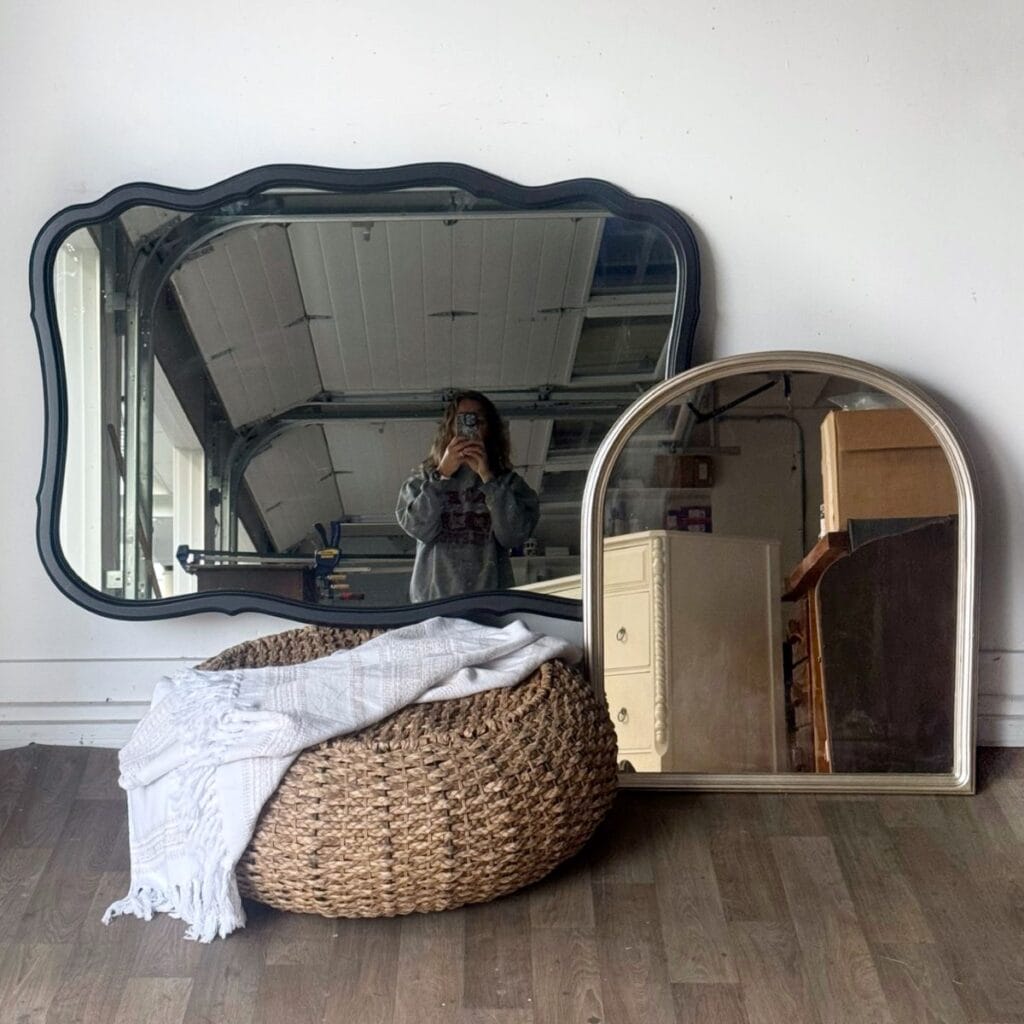
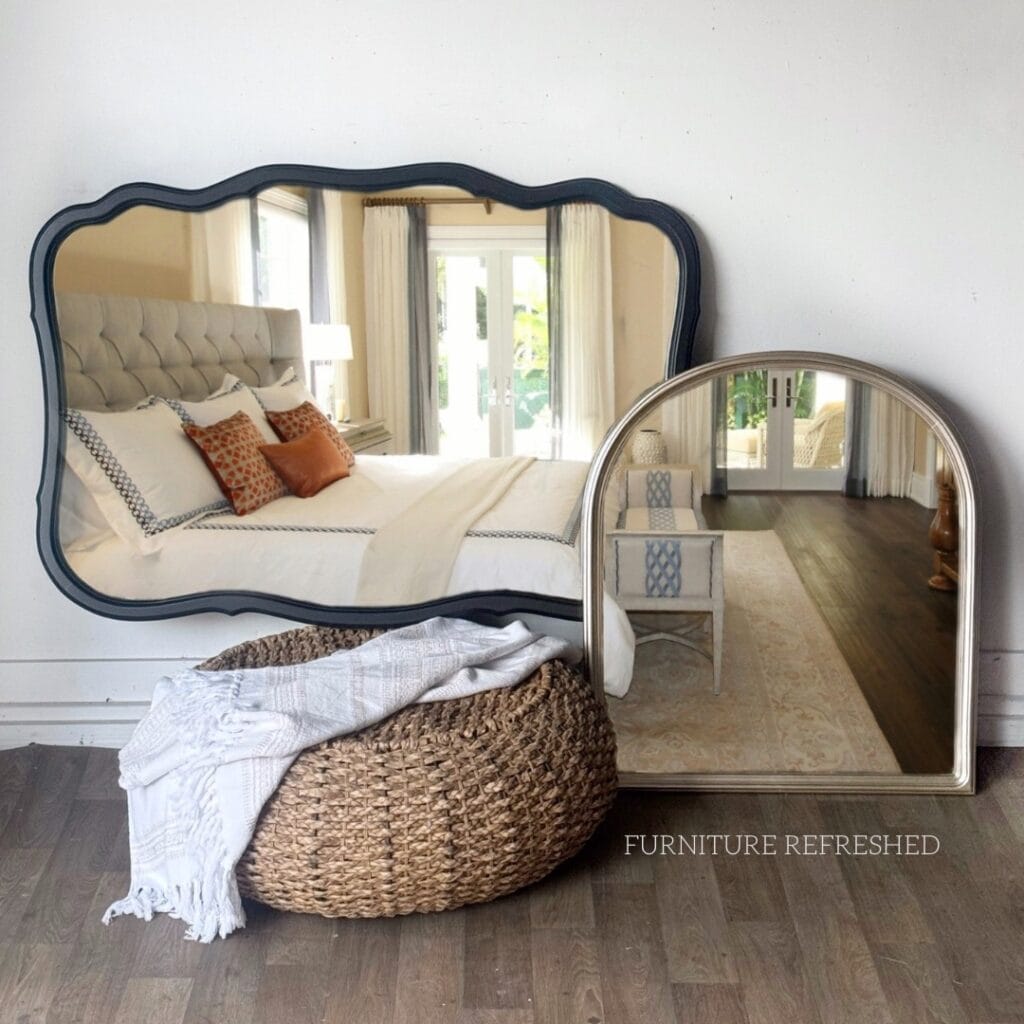
If you are painting furniture to sell, taking quality photos that showcase your furniture is so important. And sometimes your pieces will have a mirror, and showcasing the mirror without showcasing what’s behind it can be a bit of a challenge! But did you know that you can edit the reflection? In this tutorial, I’ll teach you how to replace a mirror reflection using Snapseed, a free photo editing app.
What is Snapseed
While this is not the only app or software out there that can do this, I love using Snapseed. Why, becuase it’s free, and because it’s what I use for my other photo edits already (such as removing the outlets from my wall, improving the brightness of my photos, and making sure everything is straight and level)
How to replace the mirror reflection
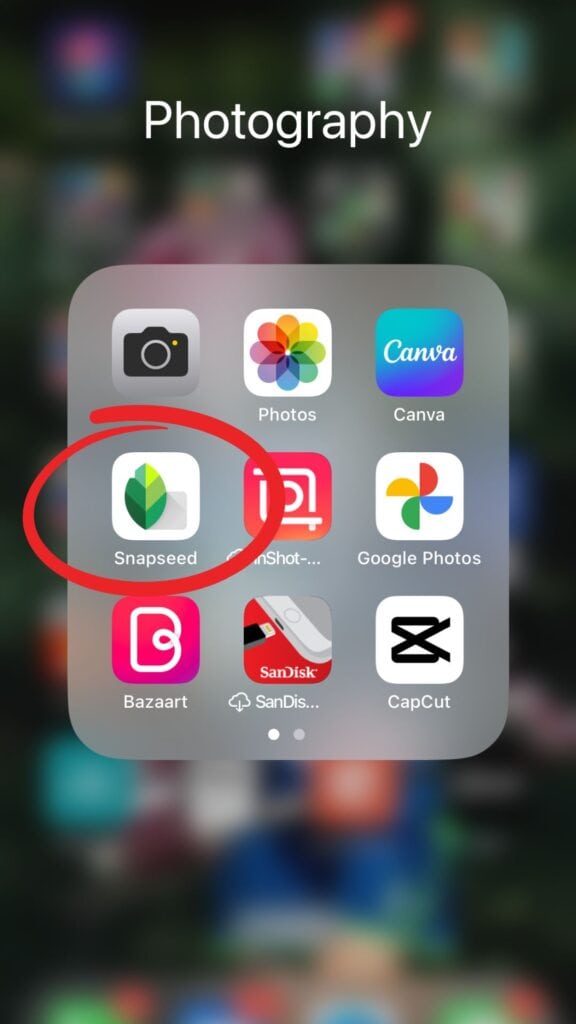

Step 1: Open up the Snapseed app on your phone. The app is available in the app store for both Apple and Android devices. As a note, I have an iPhone. I’m guessing the Android version works in the same way, but I haven’t tested that out. If you’re an Andriod user, please let me know how these instructions work for you!
Step 2: Open up the photo you want to use. If you want to do other edits I recommend doing those first and then going through the steps to add a mirror reflection at the end.

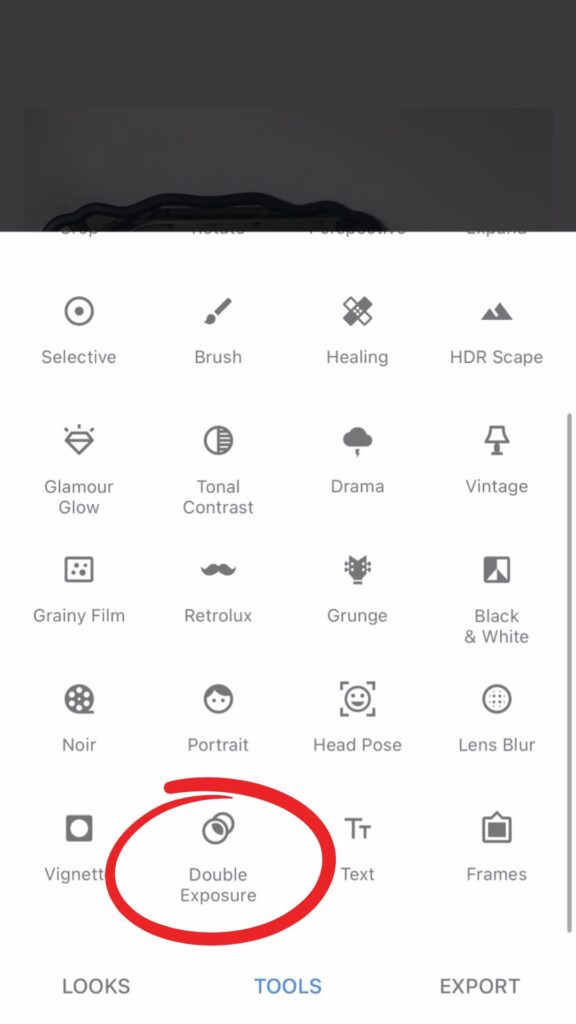
Step 3: Select the double exposure tool. This is done by clicking on “tools” and scrolling down to the bottom to “double exposure.”
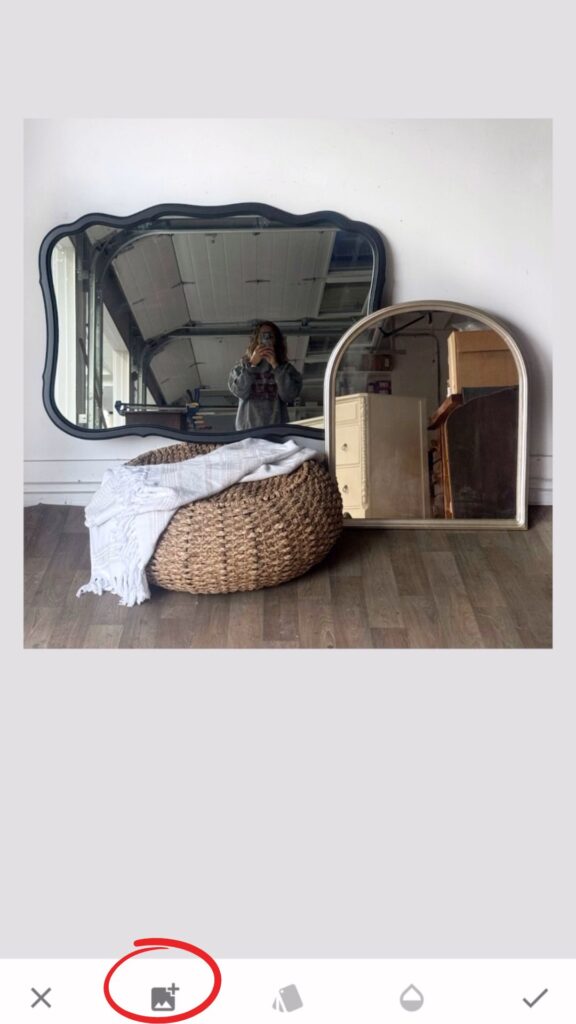
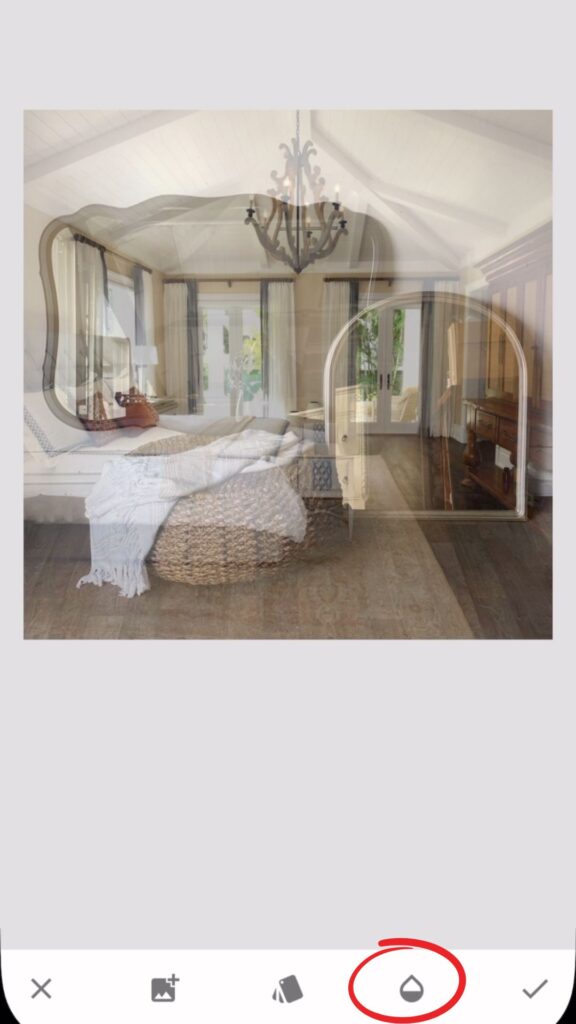
Step 4: Select your reflection image. This image can be one you take yourself, or a stock image. If you are using images you find online, be sure you have the rights to use the image (for this example, I chose a free stock image and downloaded it with permission).
Step 5: Once both images are opened the second will be superimposed on the first. Using the opacity tool, you can make one image more or less visible. Seeing a little of each, you can drag the second image around, and make it bigger or smaller by pinching the image with your fingers. Using the frame of the mirror as a guide, position this second image where you want the reflection.
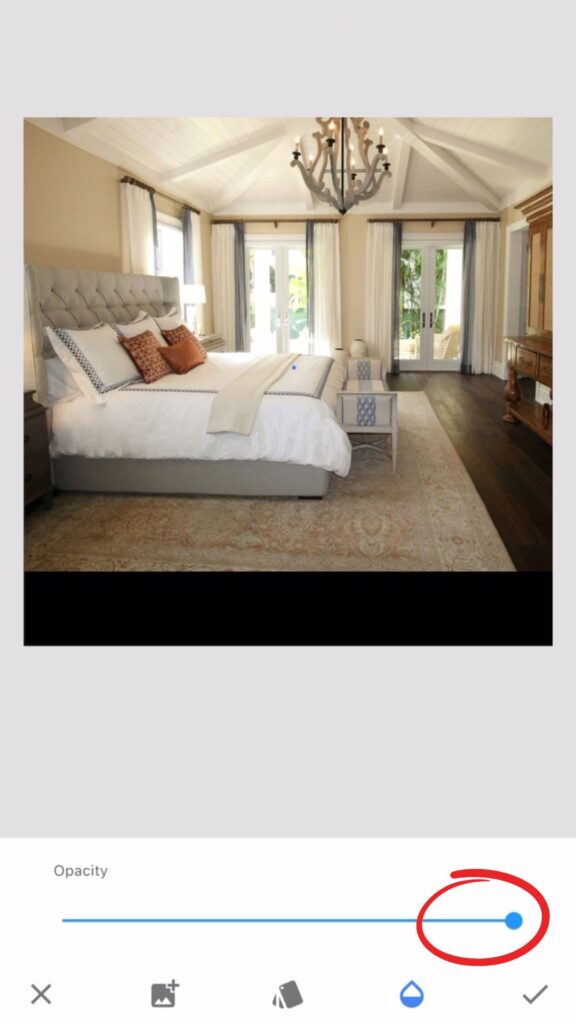
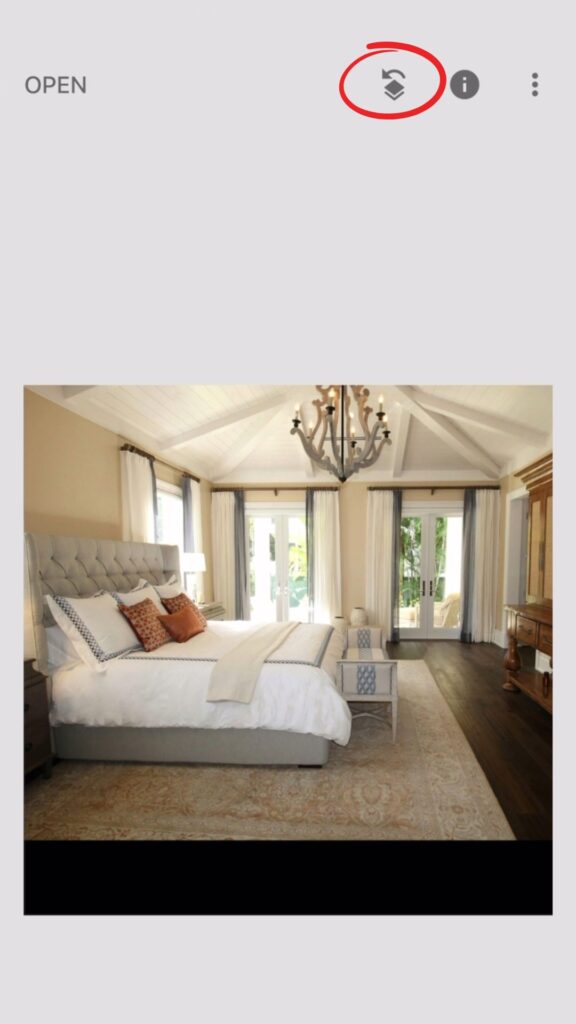
Step 6: Once you have the second photo in a position you are happy with, bring the opacity as high as it goes. This is important, otherwise new image in the mirror will have some of the original reflection (that you are trying to hide) visible.
Step 7: Next, touch the back/undo button in the upper left corner. Don’t worry, you aren’t actually undoing anything, this just gives you the option to look back and modify your edits. In this case you are editing your double exposure edit by changing the area of the second photo to only be where the mirror glass is.
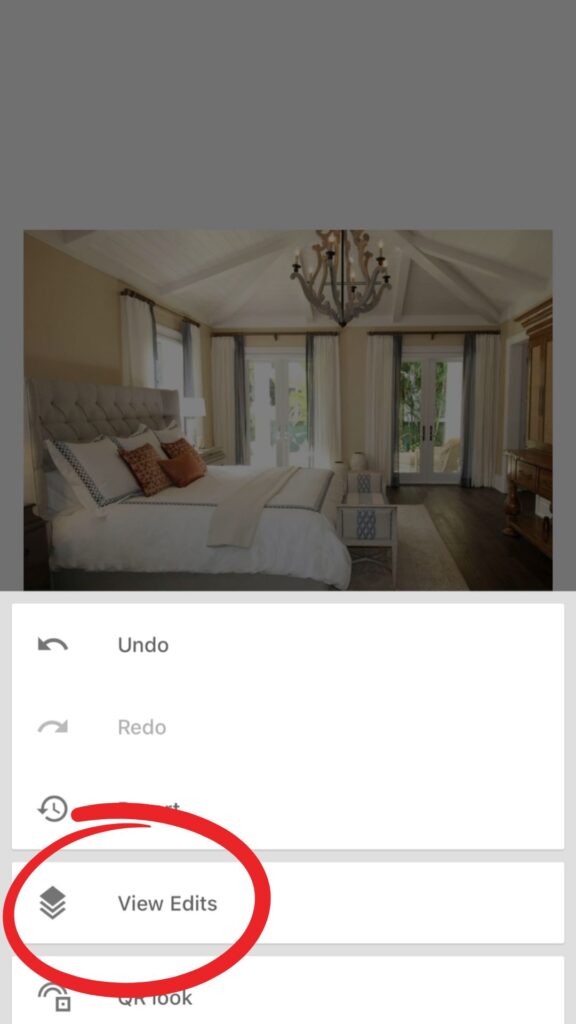
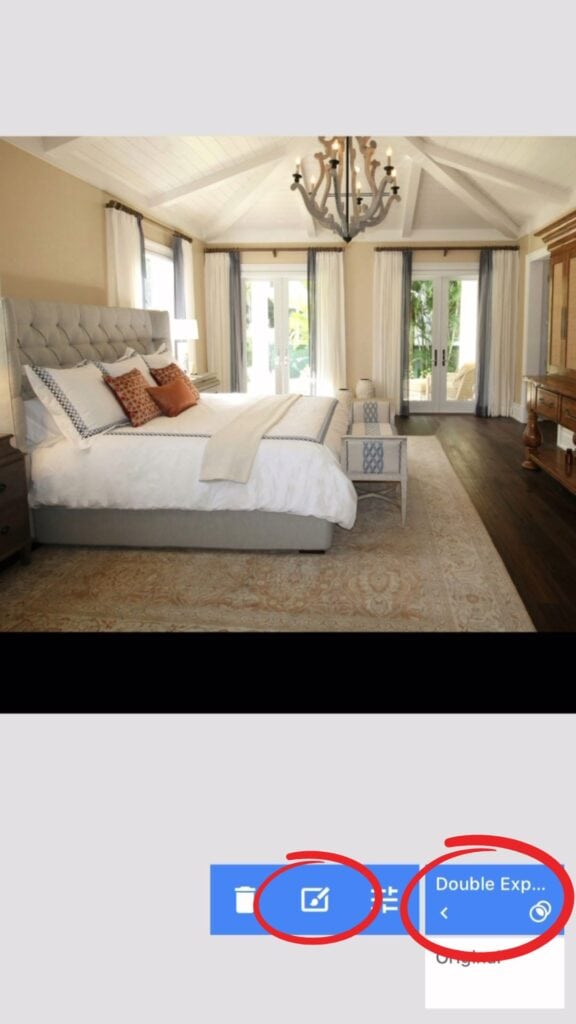
Step 8: Touch the view edits option to bring up all edits you’ve made to the photo. If you did other edits to the original photo before beginning with the double exposure tool, they will show up here as well. Simply select the “double exposure” edit, and then select the “paintbrush.”
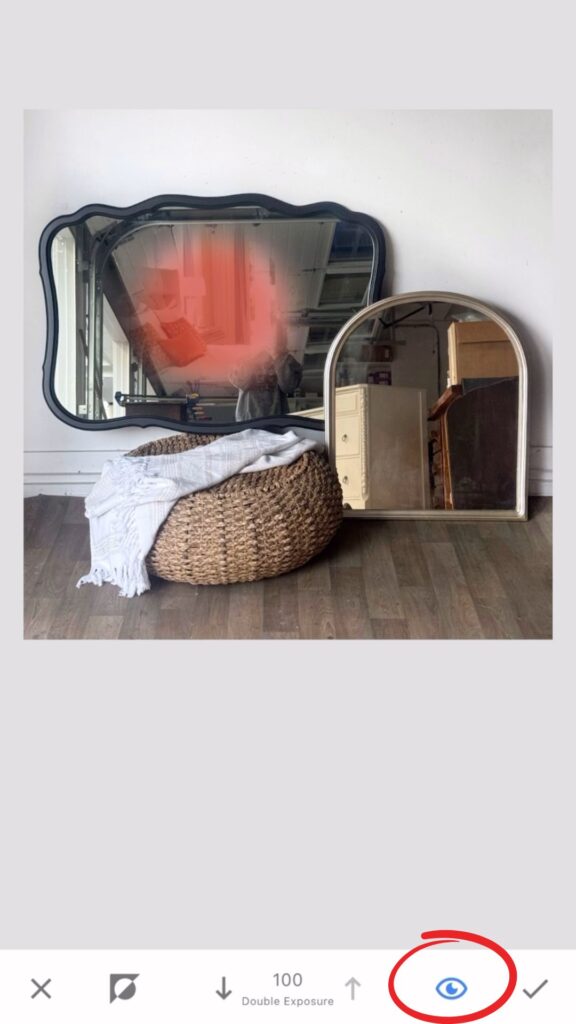
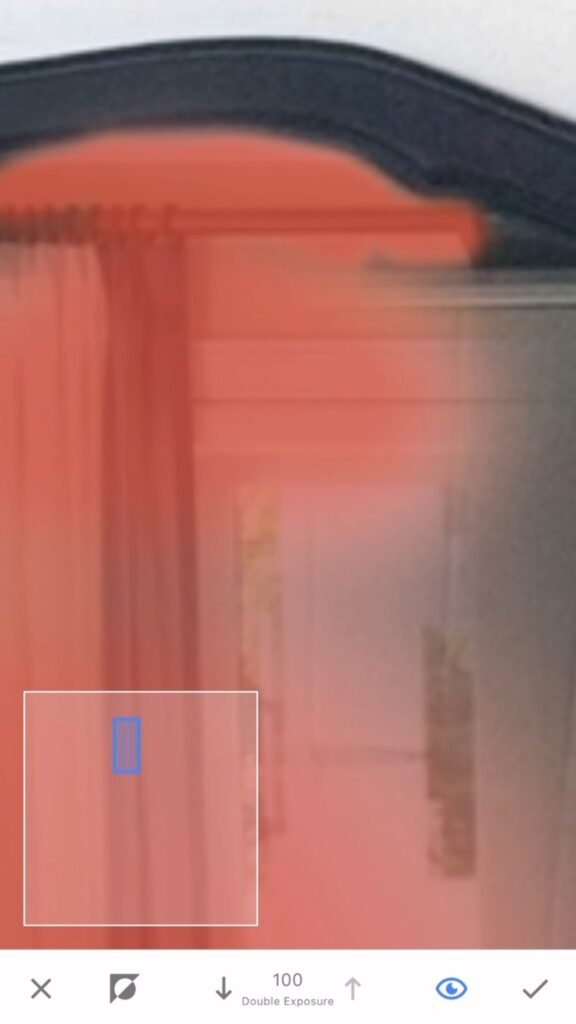
Step 9: Once the paintbrush tool is selected you will see the above images at the bottom of your screen. If you highlight the “eye” and touch a spot in the mirror, you will see red. This is you painting the second image over the first. You want to paint in the entire reflection area. If you prefer to see the image, you can unhighlight the eye, and it will just show the image in the painted area. I think it’s easier to paint in the image when it’s red, but that is a personal preference. You can also pinch to zoom in and “paint” right up to the mirror edge.
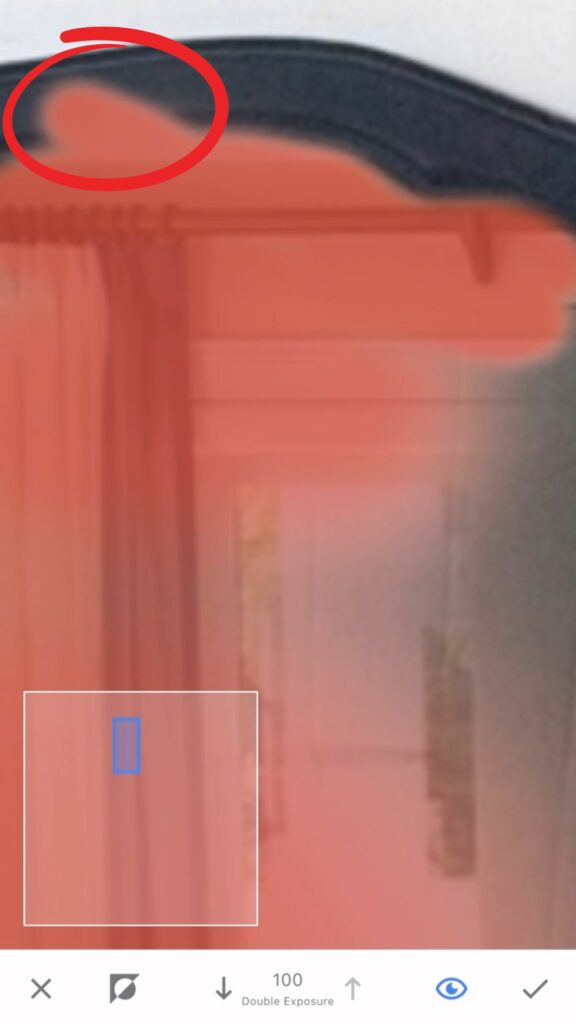
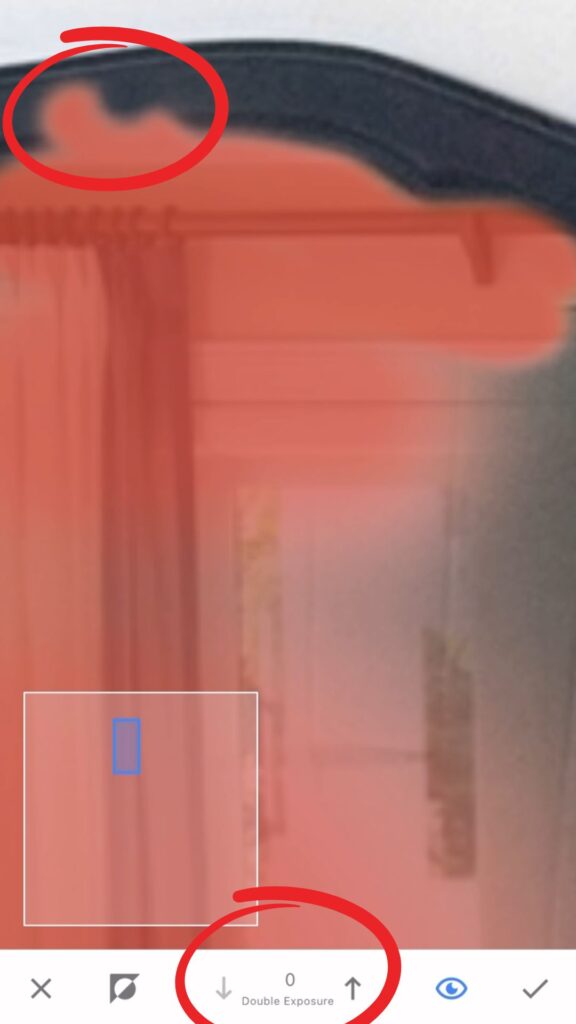
Step 10: Fixing mistakes. It’s easy to fix any mistakes if you over-paint into the frame. Just bring your double exposure from 100 to 0 using the arrows and you can reverse paint, bringing the original mirror frame image back.
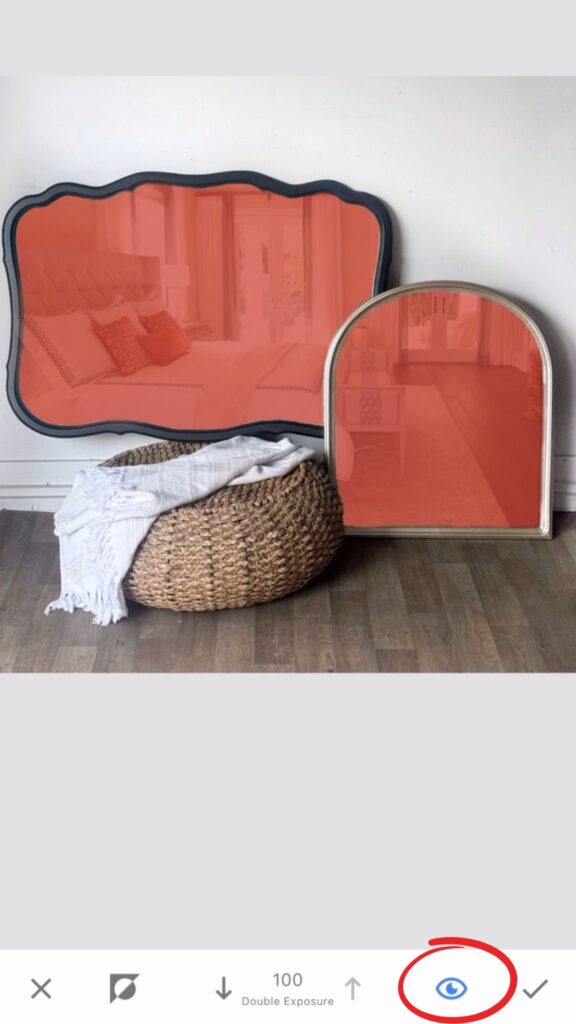
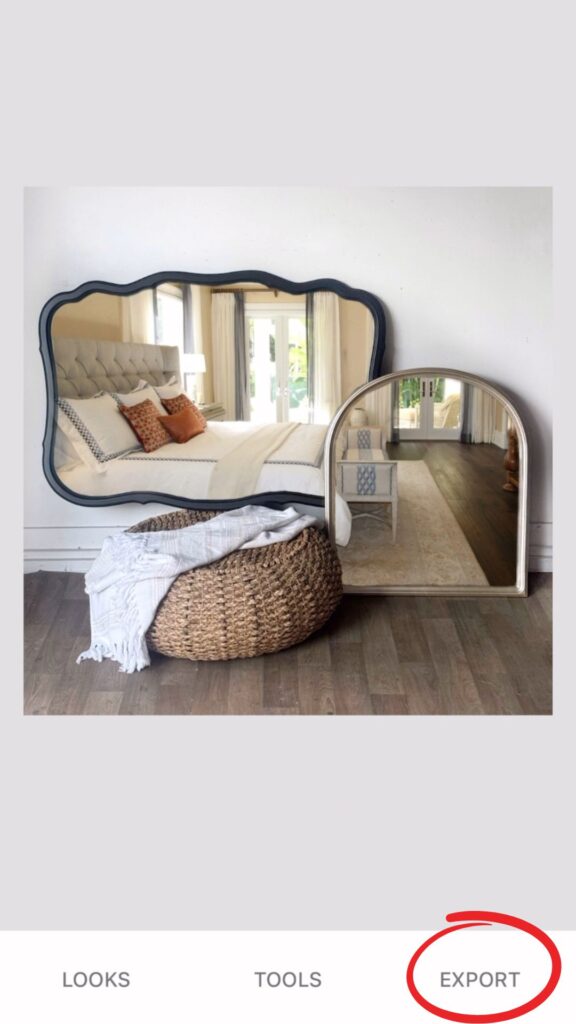
Step 11: Zoom out to see the final result. You can unselect the “eye” to see what the final image looks like. Zoom back in and make more edits if needed. Once finished, touch the “check” next to the “eye” to complete the edit.
Step 12: Export the image to your camera roll, either as a new image or overwrite your old one (however you’d like to save it). I usually overwrite the old one, just to save space and I don’t really need a copy of the unedited photo.
Summary
And that’s it! An easy (and free) way to give photographs with mirrors a much more professional-looking finish. Let me know if you have any questions! I also uploaded a video to my Instagram page with a screen recording of this process. And if you’re interested, I have the makeover of these mirrors summarized here.


